“Something old, something new, something borrowed, something blue” is a phrase many brides take into consideration when planning their wedding. Finding an item to satisfy the “something old” requirement can sometimes be a challenge. Of course, it’s easy when your engagement ring was handed down by your groom’s great-great grandmother — but what if there are no family heirlooms in the picture? Luckily, there are many ways to incorporate less expensive costume jewelry into your wedding, whether it be a cherished piece from your mother, or a lucky find from an antique store or flea market.
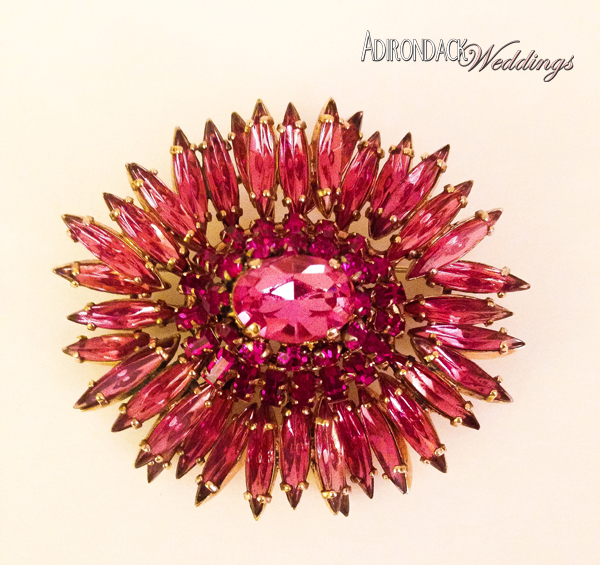
Costume jewelry is wonderfully versatile. A brooch, such as the 1960s Schreiner ruffle pin pictured above, can be used to adorn your bouquet or even a sash tied around your waist. Clip earrings can be worn as intended, or repurposed as embellishments on boutonnières or bridesmaids’ bouquets.
Vintage costume jewelry, however, does not always age well, especially if it was well-loved in its heyday. Water, hairspray, and natural oils from the skin corrode once-shiny metals, sometimes even creating a greenish-blue mold-like substance called verdigris. Fortunately, with a bit of elbow grease and a few simple ingredients found around your house, vintage costume jewelry can be cleaned and restored.
Materials You’ll Need:
• Water
• Toothpaste
• Baking soda
• Paper towels
• Cotton swabs
• Toothpicks
• Window cleaner (ammonia free)
• Micro-fiber cloth
Step 1
Wash your hands to avoid spreading natural oils. (For extra vigilance, opt for latex gloves.)
Step 2
Find a workspace with good lighting, where you’ll see every detail (or blemish) on your jewelry.
Step 3
Lay your chosen piece of jewelry on a few stacked paper towels and inspect it for areas that need TLC. There are probably only a few isolated areas that need special attention. However, if the whole piece needs polishing, start at one end and systematically move across the piece.
Step 4
When you’ve identified the area you’d like to work on, grab your baking soda and toothpaste. Apply an equal amount of each onto a dish and use a cotton swab to mix it all together. (The size of the batch you mix will depend on how big of an area you will be cleaning.) Remember, a little goes a long way. If you end up with too much, just dab some of it off your cotton swab onto the paper towel.
Step 5
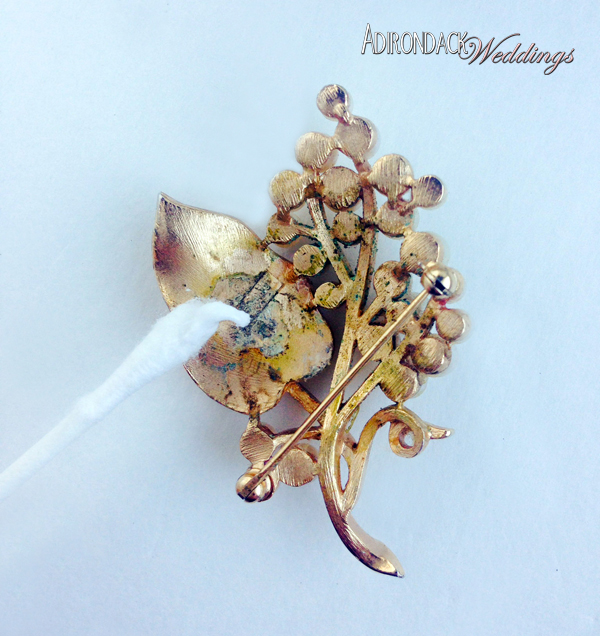
Using the cotton swab, gently rub the mixture onto the areas of blemished metal. When the cotton swab end begins to get dirty, flip it over and use the other side, or get a new one. At this point, you should be able to notice a difference from before you started cleaning.
Step 6
After polishing to your satisfaction, use a slightly moistened paper towel to clean any residue off the piece. (If your piece has rhinestones, however, avoid touching them with the paper towel, as the fibers could cause a scratch.) If there are any stubborn areas of verdigris, gently scrub them with cotton swabs or tooth picks dipped in an ammonia-free glass cleaner.
Step 7
Finally, polish your piece of jewelry with a micro-fiber cloth. These cloths are soft enough to avoid scratching the jewelry and are able to pick up any missed particles. Contrary to what was once believed, rhinestones can be safely polished with ammonia-free glass cleaner. After cleaning, always make sure your pieces are completely dry; lingering moisture is the primary cause of metal decay.
That’s it! Don’t be discouraged if your jewelry doesn’t turn out looking perfect. Your cherished piece is likely very old, so it’s important to go into this process with realistic expectations. Your jewelry will surely look brighter and shinier than it did before — the lack of perfection is exactly what gives it a special vintage charm!
— Story by Jenna Whitehill