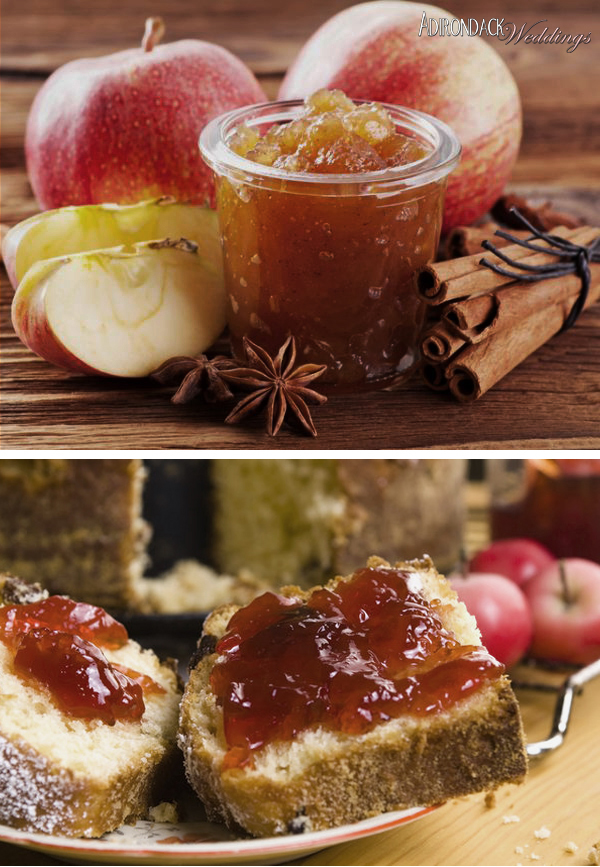
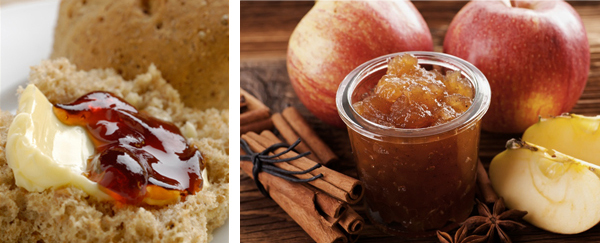
When picking apples at the peak of harvesting season, it’s easy to get carried away. You might end up with more than needed and find yourself scrambling for something delicious to make with the rest before they spoil. We have a suggestion: apple jelly! This versatile spread is a great compliment to an autumn breakfast for two.

Prep time: about an hour
Recipe yields 6-7 cups of jelly.
Ingredients:
• 5 lbs. of apples
• 5 Cups of water
• Pectin for jelly-making
• 9 cups of sugar
• 1 teaspoon of cinnamon
Materials You’ll Need:
• 3 large bowls
• Ladle
• 2 spoons
• Cheese cloth
• Saucepan
• 6–10 cups worth of jelly jars
• Oven mitts
• Tongs
Directions:
1. Wash all of your apples, removing any stickers and dirt.
2. Peel and core apples, if desired (Otherwise, cut off the stems and blossom ends (bottoms).
3. Cut the apples into quarters or smaller pieces.
4. Put the pieces into a large pot with five cups of water and bring to a boil.
5. Turn down the heat and let simmer for ten minutes.
6. Mash the apples with a potato masher and simmer for five more minutes.
7. Strain the apple juice through a cheese cloth.
8. Pour the juice into a large pot.
9. Stir in the amount of pectin specified in the directions on the box.
10. Add nine cups of sugar.
11. Bring to a boil, stirring constantly. Boil for exactly one minute, being very careful not to let it boil over. It should be a full boil (stirring doesn’t make it stop boiling).
12. Skim off the foam with a spoon and set aside.
13. Test the consistency by scooping out a bit with a cold metal spoon and letting the mixture cool to room temperature. It should thicken to a desirable consistency; if it’s too runny, add a bit more pectin as described in previous steps until a good consistency is reached.
14. Make sure your jars are clean and ready.
15. Ladle the jelly into a jar using a funnel, leaving at least a quarter inch empty at the top. Be sure to not get any jelly on the rims, you will need to wipe it off.
16. Place a lid on the jar using tongs or a magnetic lid wand. Place a ring on the jar. Tighten the ring just finger tight. Use mittens to prevent burning your hands.
17. Leave a little bit of space between the cooling jars. You will hear the lids go “ping” as they seal.
18. Once they are cool, remove the rings. If they are to be stored for any length of time, the rings may provide an unseen avenue for corrosion and bacteria incursion.

For a sweet topping to a breakfast item of your choice, apple jelly is sure to satisfy. If you make extra jelly and have a pretty little jar on hand, you can even fill it, tie a bow on it, and gift the jar(s) to friends, family, and bridal attendants.
We hope you’ve enjoyed our October series of apple-infused recipes! Next week, we’ll take a rare diversion from sweet treats to focus on something savory: Adirondack-style chili. Make sure to check back for this warm late-fall dish!
— Story by Anne Rathe


 Beautiful Adirondack bridesmaids in Saratoga Springs
 Row boat ride after a wedding ceremony in the heart of the Adirondacks
 Adirondack mountain view in Lake Placid
 A bridesmaid enjoys the view of Lake Placid while surrounded by beautiful flowers arranged in Adirondack pack baskets.

 This bridal party poses for a group shot amidst the rustic charm of an Adirondack style lodge in Lake Placid.
 An Adirondack wedding ceremony on a rustic deck overlooking Echo Lake in Warrensburg.


 1
1 2
2 3
3 4
4 5
5 6
6 7
7 8
8 9
9 10
10 11
11 12
12 13
13 14
14 15
15


